Brief 7 – Modular Environment (Partner http://gallefreyan.wordpress.com/)

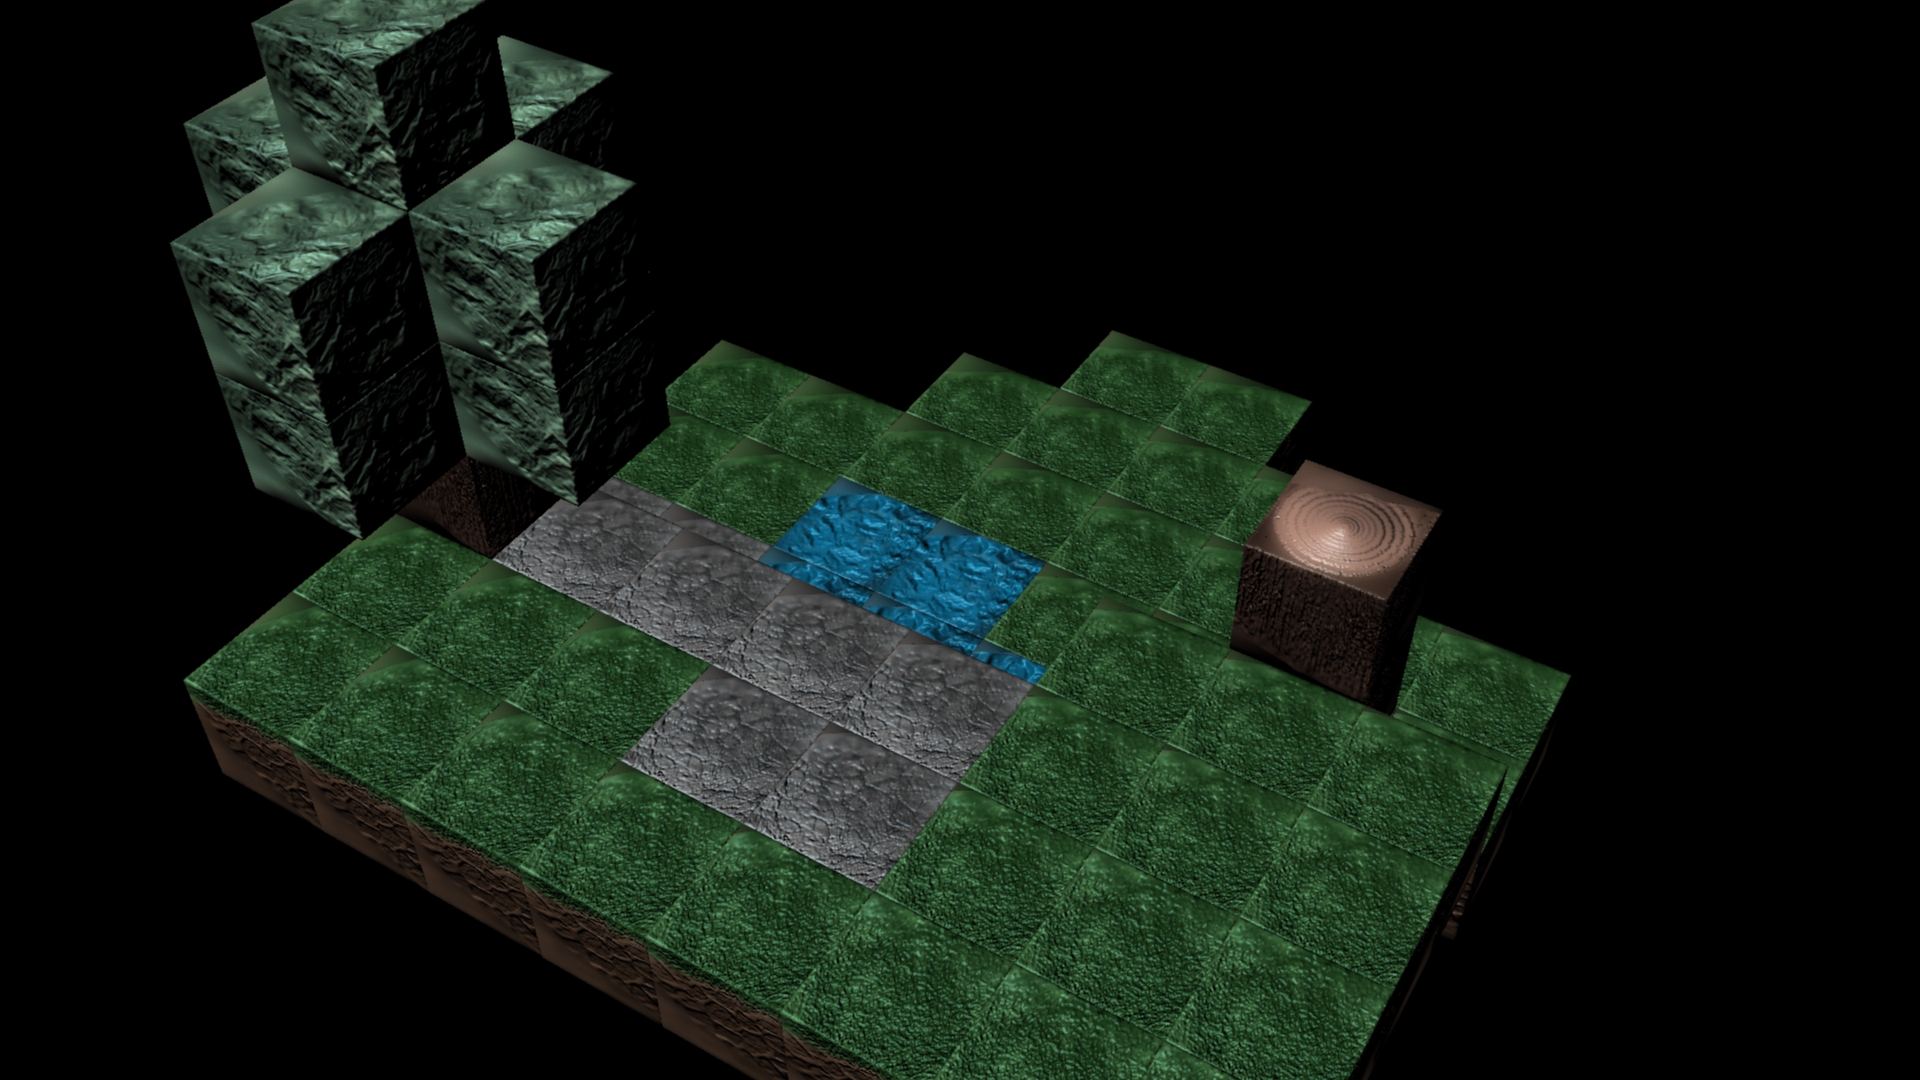
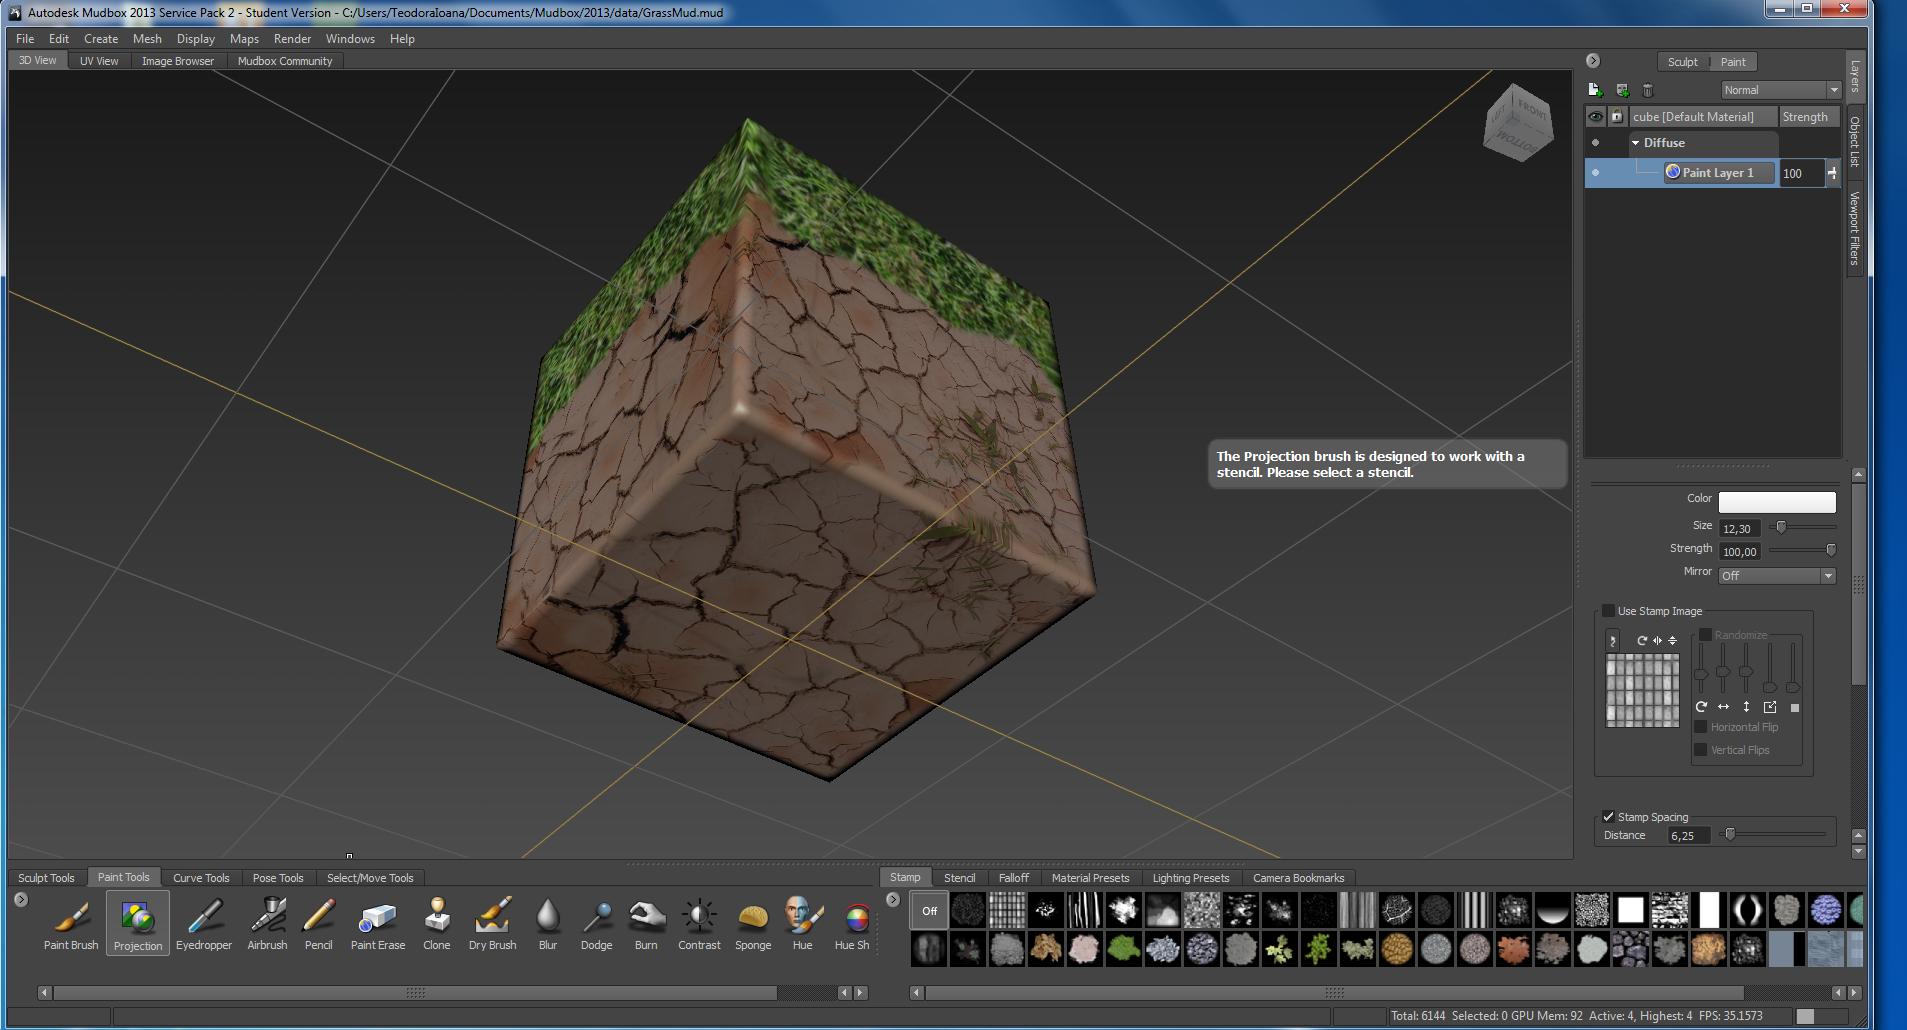
Our final brief was a group one. Again it was back to Mudbox to demonstrate our skills with Normal maps and paint textures. In our brief we had to construct an environment from cube block, not unlike the game “Minecraft”. We wanted the environment to look ‘natural’ so we got some references from Minecraft.

Image

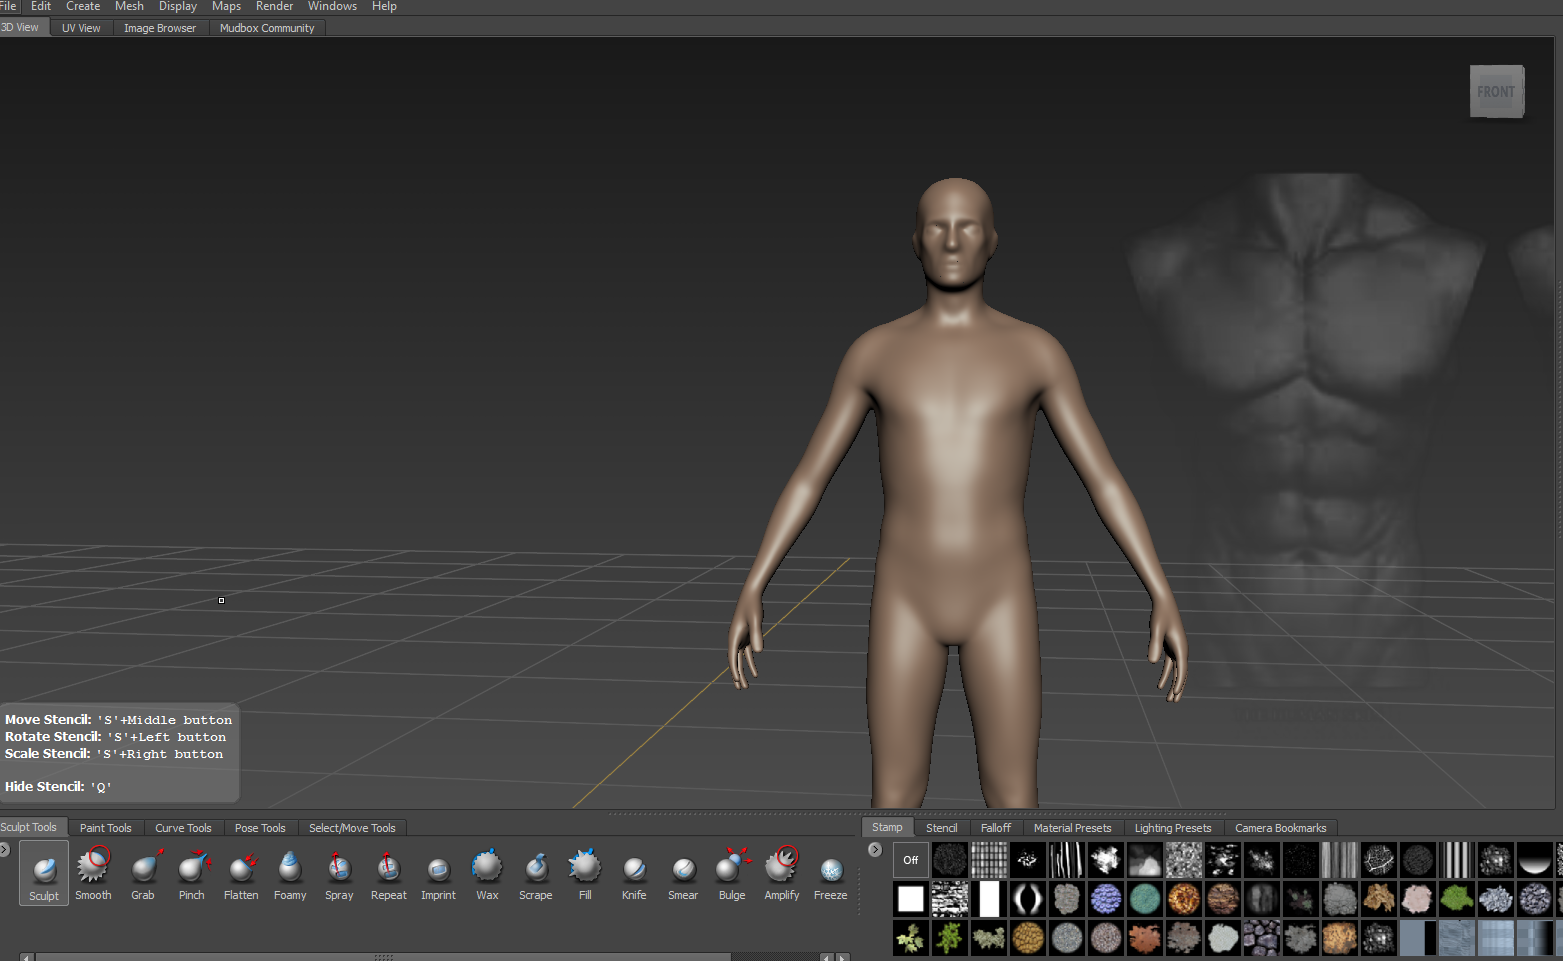
Once I had got this far I wrongly decided that I should start constructing the environment in Maya. I thought that I would set out the scene and send the blocks to Mudbux to add the detail.

Image

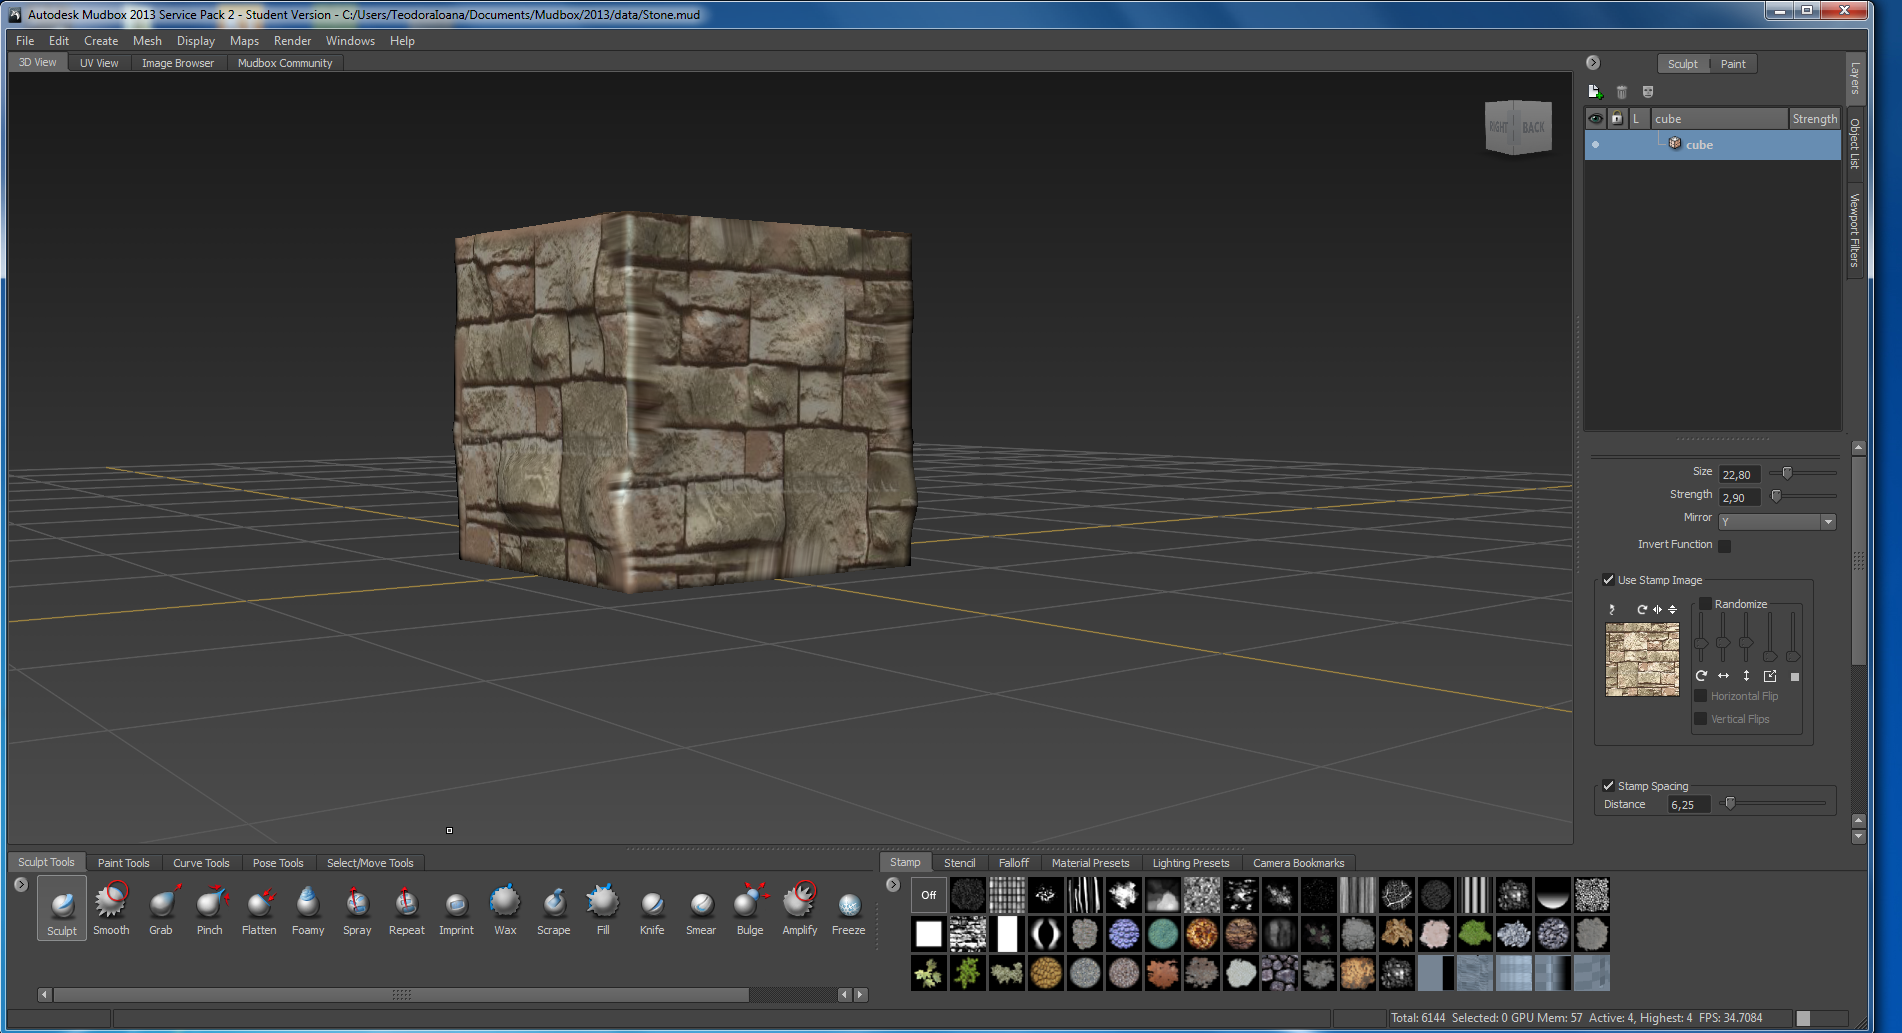
This is the first render I did for the scene. When I exported the block to Mudbox, after I stepped up the subdivision level, the shape of the original cubes deformed. We realised then that it would probably be best starting from Mudbox with the template cube. However this would give us another reference, and defined the 5 different blocks we were using. We split the blocks between us and started in Mudbox, I had the Grass and Stone.

ImageImageImage

When I came to importing the blocks into Maya, one tool was paramount in the organized integration of the blocks: The magnet tool. This let us snap the cubes into place easily. Also when the low poly models were imported in, the shapes were slightly distorted because of the extra detail. This was easily fixed with magnet tool by snapping the vertices back one by one.

An issue arose in the implementation, to see all the difference between the blocks, you had to at least have “Hardware Shading” on. Unfortunately this affected my machine and I was limited when it came to the size. This meant that the final environment was about half the size of the original plan.

ImageImageImage


Brief 5 – High Level Development

For this brief we were required to produce a full human model from the base mesh supplied with Mudbox.

First of all, I opened a human mesh and chose an image to help me sculpt the model.

1

2

I sculpt the model using the stencil, but also with the bulge tool.

2dupa

For the face, I create another sculpt layer and various sculpt tools like sculpt, scrape and smooth.3

Next I sculpt the pants using a stencil and I paint it using the the airbrush tool.4

For the face, I tried to make it more real sculpting better the eyes, nose, mouth and the hair.

6 7

And to paint the main features I prefer another image.

8

At last I extract the texture map into a low resolution mesh and export it to Maya. 9

There are some differences, but it still shows the details pretty good.10 11

Brief 4 – High Definition

In this brief we were asked to sculpt and paint more details on to the lizard base mesh we did in brief 2, then extract the maps on to the base mesh and export it to Maya.

I begin opening the lizard model from the previous brief.

1
To add different levels of detail, I create a new subdivision level. I used various layers to re-paint the lizard model and make it more realistic.

2

After that, I have sculpted the model using bulge and smooth tools.

3

4
Next, I extract all the high level detail layers from the high resolution mesh into the low resolution mesh.

5
Now the lizard has high detail mesh and low polygon count. (Level 0)

7

Finally, I export it to Maya and as you can see, the model has all the details even with a lower polygon count.

9

Brief 3 – Dynamics Simulation

For this brief we had to create a skybox around a scene and incorporate visual effects in the distance.

First of all I did the landscape in Maya and I sent it to Mudbox to change the textures.

2

After using the sculpt tools, I started to paint the plane to make it look like it is water.

4

I did the car separately using the car base mesh from Mudbox and I send it after to the scene I had in Maya.
To chance its colour I used an image as a stencil and the projection tool. The same image help me to sculpt the car to make it look more real.

5 6 7 8
In Maya, first of all I did the time frame and where the car should be every second.

9 10

To make the car collide with the billboard, for the billboard I had to change the Subdivisions Width and Height attributes, Edit Mesh – Detach Component, Create nCloth and change the gravity to make it break and for the car I had to Create Passive Collider.

11 12


Finally, I tried to add some fire and smoke to the scene.

14 15

Brief 2 – Lizard

For this assignment we were required to produce a a sculpted lizard and export it to Maya.

I started this assignment with a basic reptile model from Mudbox.

1


To start sculpting the mesh, I first chose an image to use it as a stencil.

2

3

I used sculpt tools such as sculpt and bulge to make the mesh look more real.

4

And to add more texture and colour I used the paint brush tools. For this lizard mesh  I worked with the airbrush tool and a green tone.

5


Finally, I exported the model to Maya.

7

8


Brief 1 – Particles

For the first assignment we were required to produce a special effect show that utilises particles.

First of all I created the emitters, the environment and I start changing the attributes of the particles.

1 6


To add the song I had to convert it into a wav file first and after that just import it to Maya.
For the Start/End control of the particles I used the option Set key.

3

Finally, I applied texture and colour to the fountain and to the particles.

7


The final result:

First Maya Project – Particles

In our first Maya project we have been working with particles and creating different effects.

First of all we created a particle cube with a gravity field and we also created a landscape.

1

2

The gravity made the cube fall and collide with the landscape.

4

The second effect was the fireworks and in this case we used a particle emitter.

Capture2

Then, we add a second emitter to create a rocket effect and a gravity field so the particles would spread. We also changed the lifespan of the particles to make them disappear after a while.

Capture3

To give the particles a different colour and shape we used the Maya ramp.

Capture5

Capture10

The render view using mental ray:

Capture17